In case you missed it, Michele at The Scrap Shoppe had me as a guest poster earlier this week.
Here's the reprise of that post!
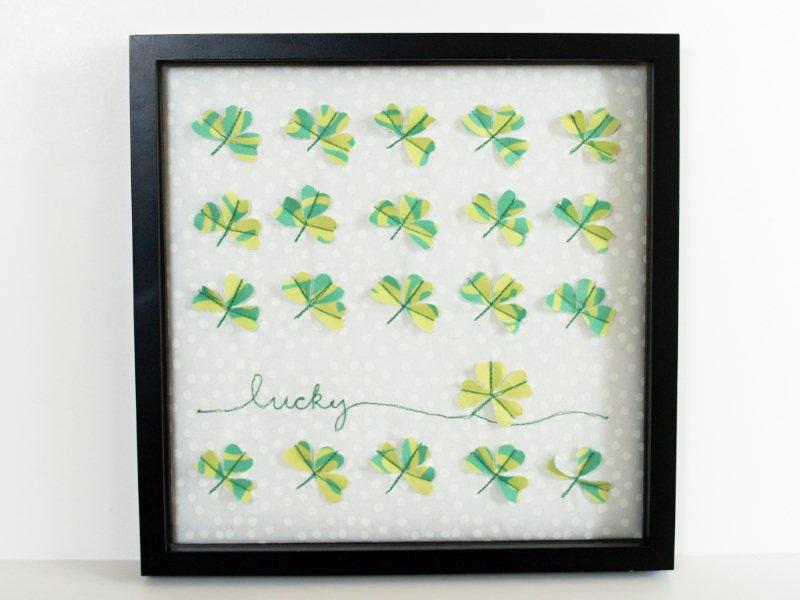
About a year ago I created this little shadow box for an Alice in Wonderland-themed craft challenge I hosted.
Excuse the poor pic - it was BC (before camera!). Ironically, the winner of the challenge was our very own fabulous crafty one - Michele. The shadow box was the prize for the winner, and it now lives with her.
I bought several shadow boxes when I bought this one, and they've been patiently waiting for me to find my craft mojo. When Michele asked for guest bloggers during her maternity leave, I knew it was time to brush the dust off the shadow boxes and bring out this idea again.
I was also inspired by the recent similar craft posted by the uber-fab Bev at Flamingo Toes
Except I don't sew. Ever.
With those thoughts in mind, I gathered my basic supplies:
Black & white patterned paper
heart stamp sets
Real Red & Eggplant Stampin up ink (for a choice in colors)
Heart punches
Empty Ikea shadow box
I should probably explain that I'm an organic crafter. Pesticide free and all that - hehe. Okok, what I mean is that I generally start my crafting with an idea, and some basics, and enhance it and build it as I go. So where I start is usually not where I expect to finish.
This little project was no different. I thought I was recreating the original, symetrical Queen of Hearts. WRONG! I went with a more - well organic - look.
I started by stamping some images in both red and purple. Purple because I intend to accent our master bedroom in purple. Then I cut out each of the images. One of my favorite tidbits: move the paper and keep your scissors still for a more clean cut out.
I realized that the white cardstock I used to stamp the images on, and the white chip board I intended to use as a backdrop were a wee bit different. Enough to make it noticeable. Time to dig into my paper stash to look for an alternative.
EUREKA! I had a stash of sugar (glitter) paper, and a black that would make a nice background. I cut the background to size (9x9 in this case), and then used my heart punch to cut hearts out of several different black and white patterned paper.
I began to arrange the hearts on the background
I liked the glitter as background, and the pop of the red. I love the black and white hearts too. But I felt it was very flat (well DUH - paper + paper = flat!). And there's a lot of negative space (I can't handle negative space!)
I set out to correct those two issues quite easily. First, I added another heart to each row. Then I either folded the black and white hearts, or wrapped them around a finger to bend the paper and make them pop. Lastly, I dug into my extensive ribbon stash to add a little more pop. And my button stash.
I used FabriTac as my adhesive - it allowed me to flutter the ribbon a bit, and be precise with the various paper bends. Plus I knew it'd work well with the glitter paper.
Then I simply insert the finished piece into the shadow box.
But I wasn't done yet. I went back to my ribbon stash to add a little more flare. and then - then I was DONE.
(Uhm, please excuse the glare. Some things I haven't quite figured out how to avoid yet)
What I really love about this project is that the background can be changed by season, by holiday, or even by decorating whim. I'm going to create another one with the purple for my room.
Thanks for looking, and enjoy your new day!!


OMG Allie, you just gave me my next project! Love it.
ReplyDelete